
Atlassian’s Jira is one of the dominant project management tools in the market and for many good reasons.
One reason why it’s so awesome is that amazing people can align on the status and scope of their work with just a few clicks.
For this blog post, let’s talk about how we can expand the awesomeness of Jira to your mobile.
Ordinarily, notifications in Jira can be viewed on the web app or through its mobile app.
A Jira administrator can set up SMS alerts to be automatically sent when conditions are met.
Sample instances include but are not limited to:
- When a bug issue type is created, an SMS can be sent to selected teams responsible for bug triages.
- When an issue has been transitioned to a specific status, DevOps folks away from their keyboards would appreciate the SMS alert and can pull up their sleeves and deploy stuff only when needed.
Fortunately, Zapier is a unique solution that allows you to connect Jira to your ClickSend account.
Follow these steps and you can brag that you’ve programmed robots in Zapier to send an SMS to your colleagues when stuff happens in Jira.
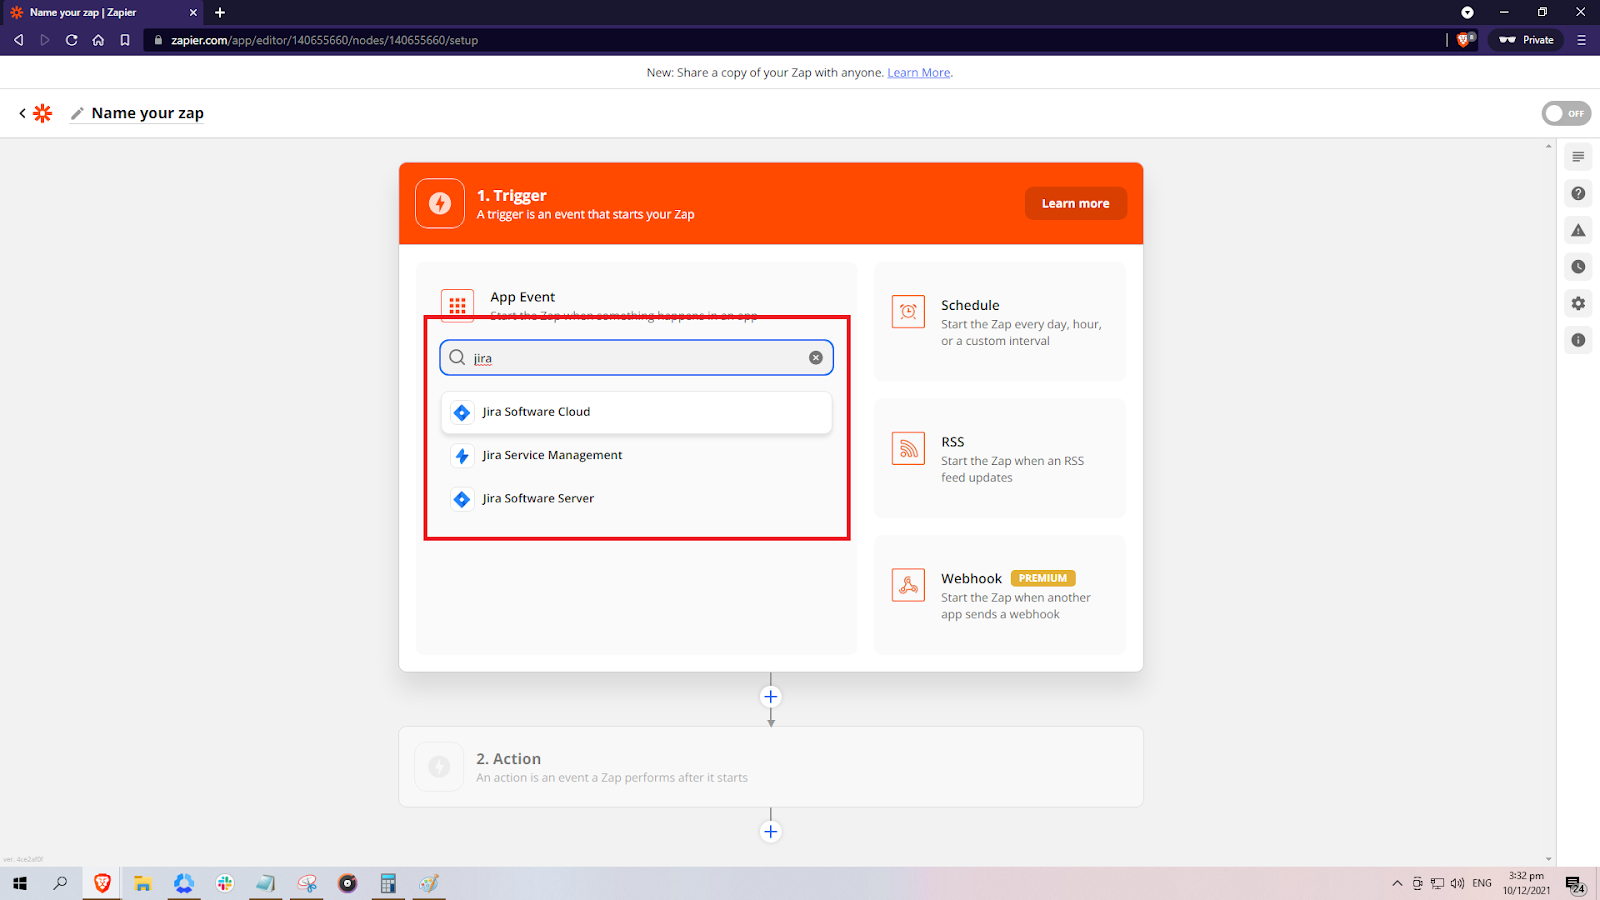
- Let’s first start by creating a new Zap in Zapier.

- From here, select the Jira instance you are using. For this example, I will be selecting Jira Software Cloud.
- Next, we need to give the order that will make Zapier send the SMS. These are the available options. For this example, we will select New Issue via JQL.
This means whenever a new issue that matches the criteria specified in the JQL, an SMS will be sent to the subscribed users.
For more info on JQL, refer to Atlassian’s article here. - You will then need to connect Zapier to your Jira account.
- Assuming no Jira account has been connected yet, go ahead and click “+ Connect a New Account”. If you already have a Jira account connected, you can skip straight to step 5.
- Select the Jira instance you selected back in step 2
- You will then need to log in to Jira. Depending on your configuration, you may need to access your SSO (Single Sign On) platform.
- Provide the authorization; this is the last step
- Assuming no Jira account has been connected yet, go ahead and click “+ Connect a New Account”. If you already have a Jira account connected, you can skip straight to step 5.
- Now that you have connected Jira to Zapier, we need to order Zapier to send the SMS thru ClickSend. In this example, we need to select ClickSend SMS.
- From the options to choose from, select “Send SMS” since we want to send an SMS whenever a new Jira issue is created that matches the JQL.
- You will be asked to connect to your ClickSend account. The steps in connecting ClickSend to Zapier will be similar to those in step 4 when you connected Jira.


- In the next page, you can then configure who will receive the SMS, and what the contents of the SMS would be.
Note that it is possible to automatically insert phrases such as the key and summary shortcuts in the SMS body.

- After setting up the SMS to be sent, it is strongly recommended that you test the created Zap to verify that the configuration is correct.
- And that’s it! Once you have saved the Zap, whenever an issue in Jira meets the criteria set in step 3, ClickSend will automatically send an SMS to the selected party using the details you provided in step 7.


Top Tier Tips
- Always confirm if the subscribers want to be part of your contact list; not everybody would expect the SMS alert!
- Do not assume everyone in the contact list has fancy smartphones; keep the layout as simple as possible.
- Including the issue key and summary would be a great help so that users would be able to recognize the issue mentioned in the SMS.


