12 ways to a squeaky clean contact list for SMS, email and more
By Team ClickSend
January 08, 2025
10 minutes
This blog was originally posted on November 02, 2022
- sms campaigns
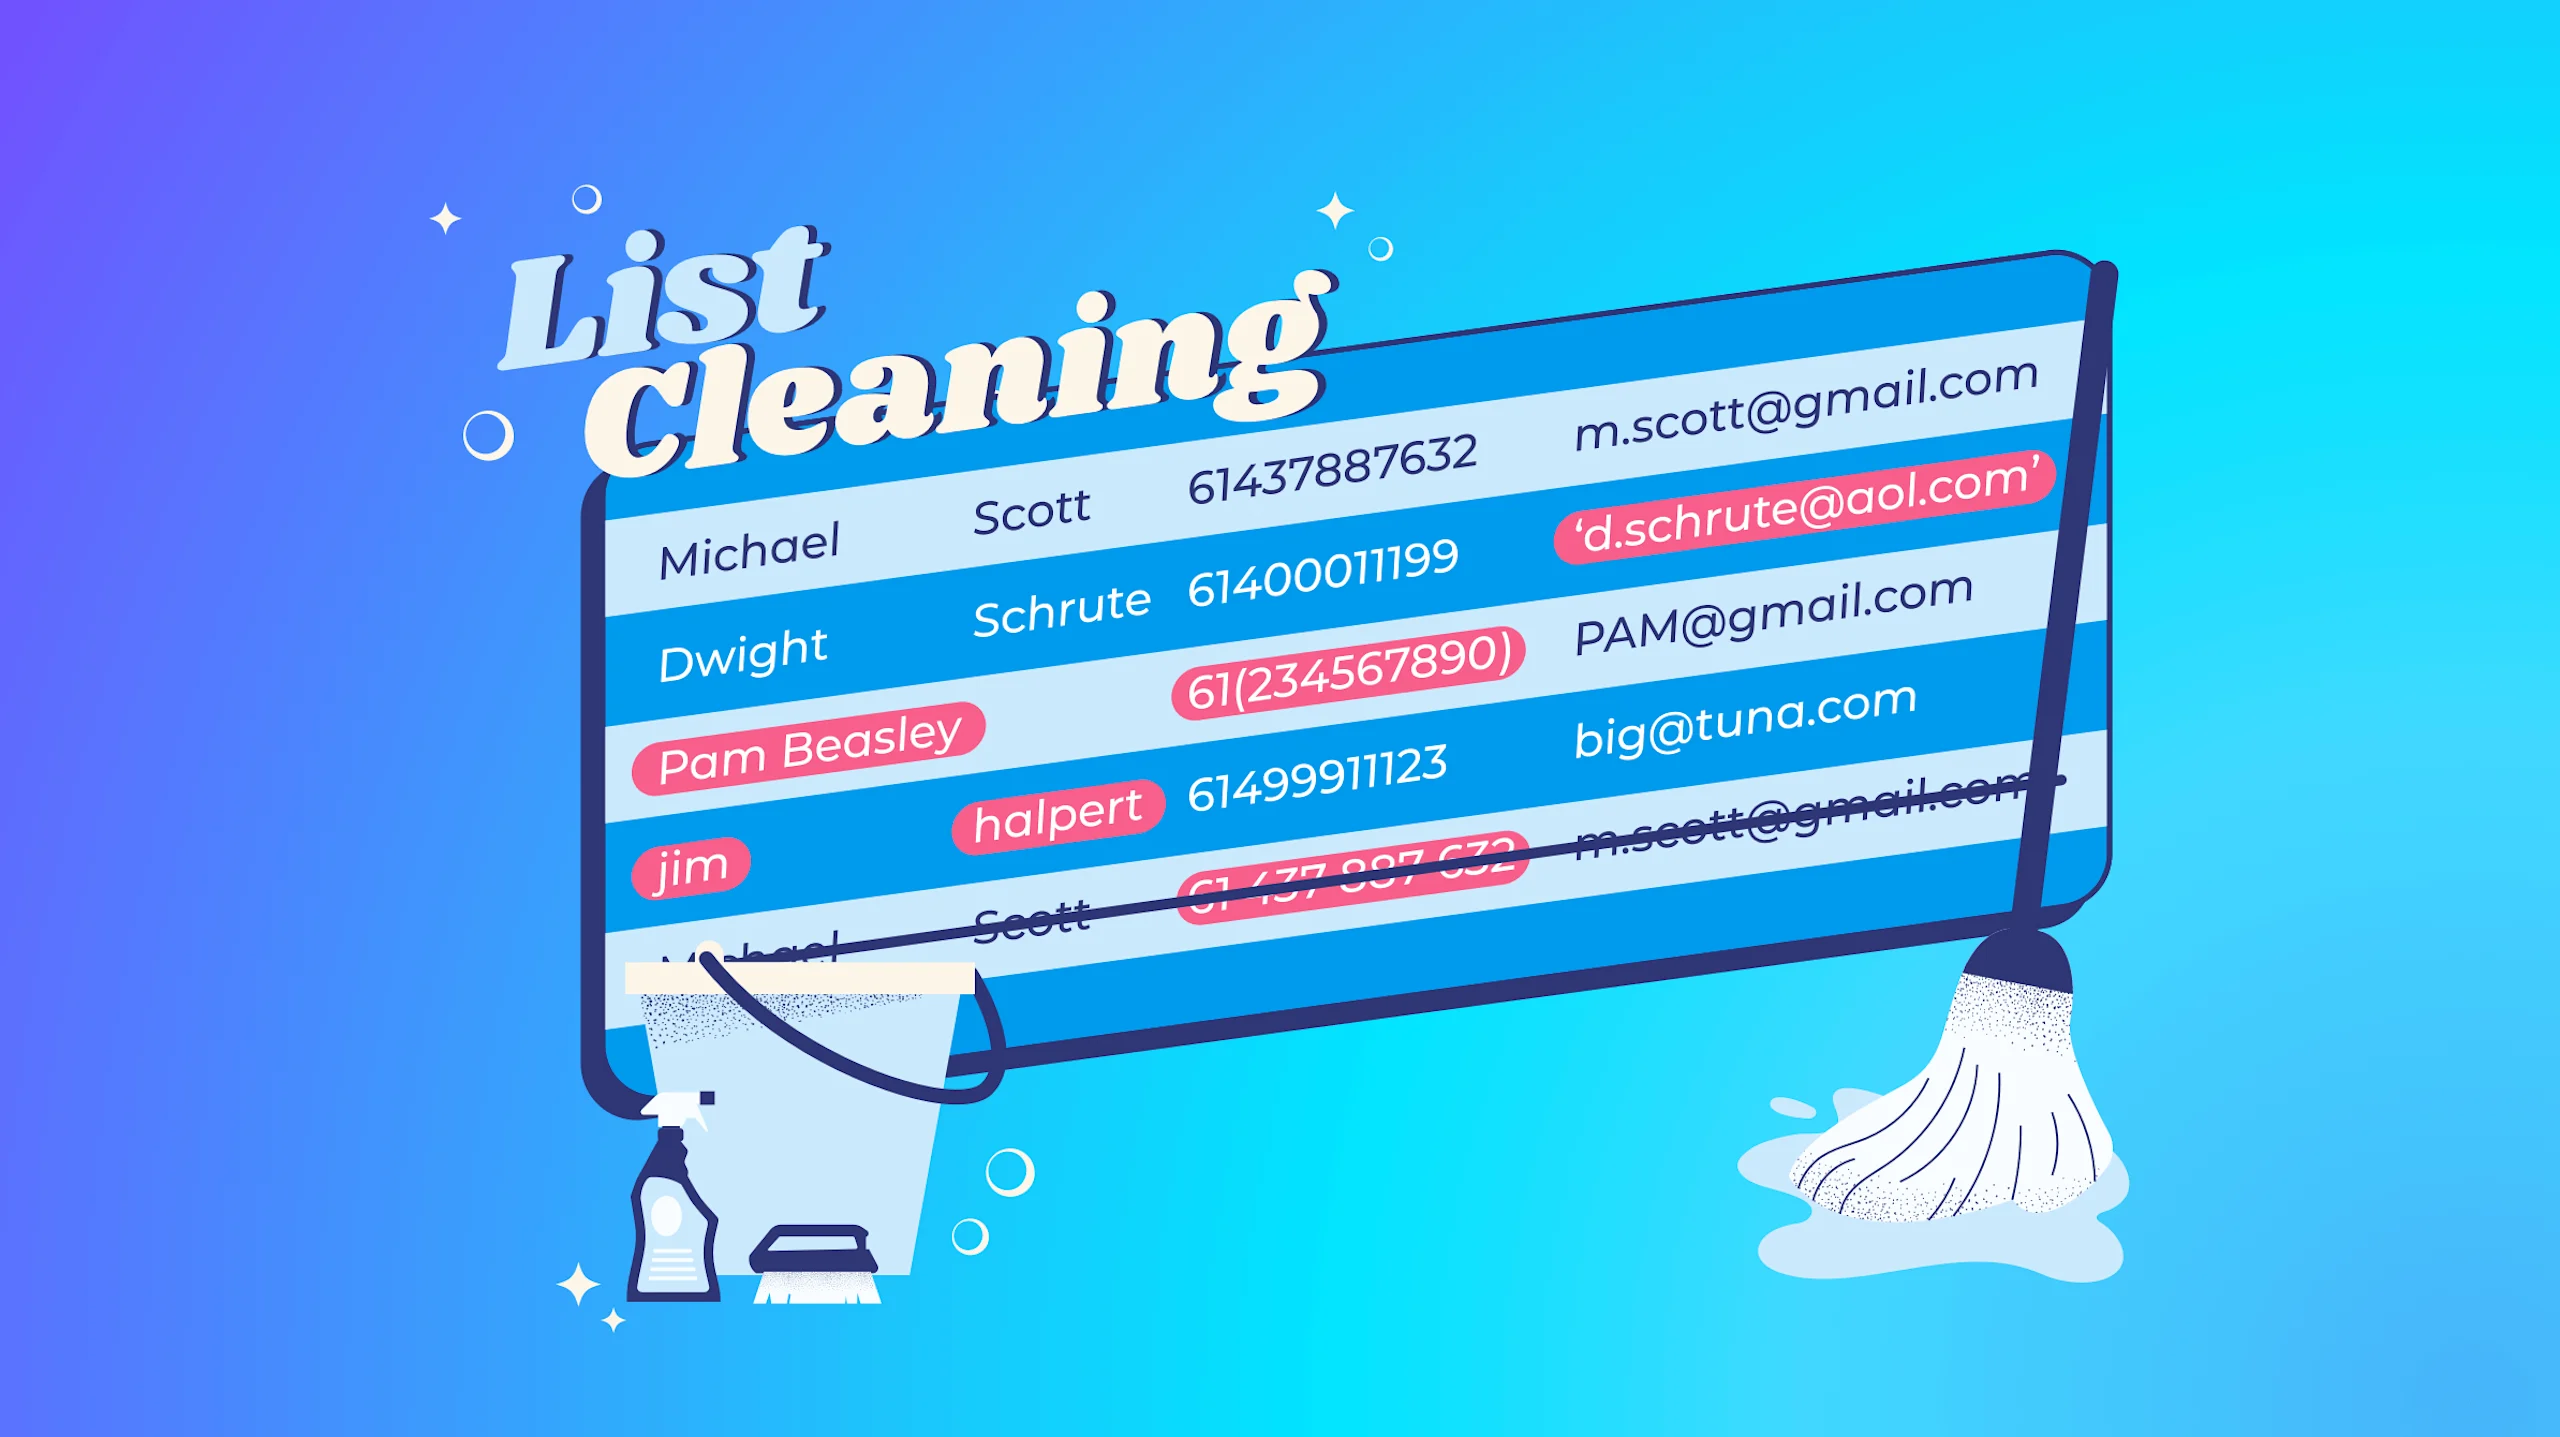
- contact list
- list cleaning
- opt in contacts
By Team ClickSend
January 08, 2025
10 minutes


