Getting Code Red on Node-RED

At ClickSendTowers™ we like a good bit of visual stimulation. We like to think we build visually stimulating products for the user and consumer.  So we, and especially our Dev Team, love visual programming products.

And we especially love ones that help our users with integration, and Node-RED is an absolute gem at doing this.

What is Node-RED?

Let’s take the description from the horses mouth:

Node-RED is a programming tool for wiring together hardware devices, APIs and online services in new and interesting ways. It provides a browser-based editor that makes it easy to wire together flows using the wide range of nodes in the palette that can be deployed to its runtime in a single-click.

And if you need to be more visually stimulated, watch no further:

[vc_video title=”

Node-RED Introduction

” link=”https://www.youtube.com/watch?v=vYreeoCoQPI”]

Got that? Good, so let’s take a look at how easy it is integrate Node-RED with ClickSend’s API (a bit of techie nous helps to understand below, but it is super simple).

Node-RED integration with ClickSend

Node-RED can easily integrate with most of ClickSend’s API endpoints. This means you can trigger multiple actions by creating a Node-Red flow.

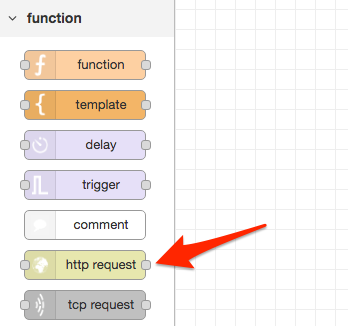
All you have to do is create a logical flow of information all leading to a HTTP request node shown below which calls the API endpoint you desire.

Add the following details to the HTTP request node:
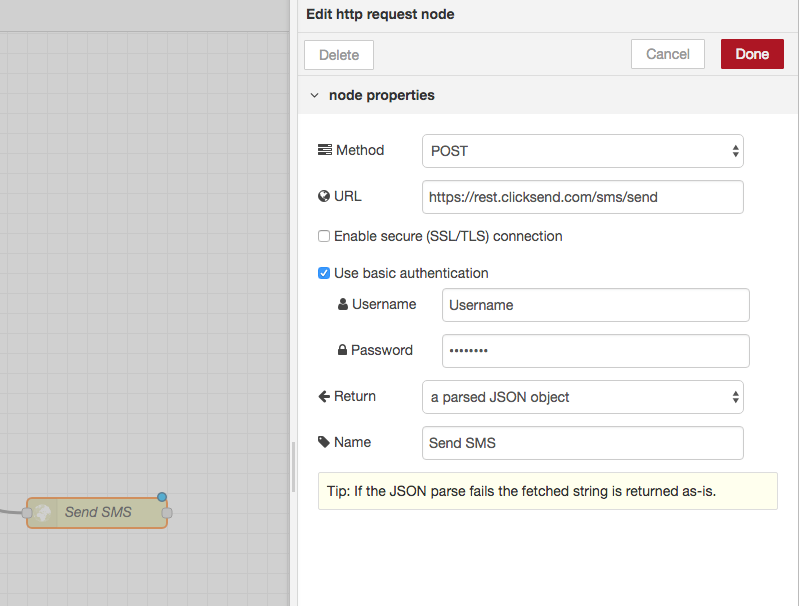
  • Method: POST
  • URL: https://rest.clicksend.com/v3/sms/send
  • Check Enable secure (SSL/STL) connection
  • Check Use basic authentication
  • Username: your ClickSend Username
  • Password: your ClickSend API Key which can be found here.
  • Return: a parsed JSON object
  • Name: Send SMS

Make sure you send the body of the request in JSON format.

Example of a Node-RED integration with ClickSend:

Set up a simple flow like this:

Use inject node to create a JSON payload containing:

{
  "messages": [
    {
      "body": "test message",
      "to": "{your number}",
    }
  ]
}

You can add more parameters as shown in our API docs.

Put a debug node at the end so you can check the response from the API and turn it on by pressing the square on the right.

Make sure you deploy your flow and then press the square on the left to send the payload.

And that’s it! We’re happy to talk about the process and help with any questions you might have just hit us up on one of the channels here: We love a good chat

Sharing is caring!